

When facebox detects a face, it returns a rectangle object that looks like this:
"rect": {
	"top": 38,
	"left": 527,
	"width": 75,
	"height": 75
}
top - (int) The distance of the face from the top of the image (Y axis)left - (int) The distance of the face from the left of the image (X axis)width - (int) How wide the face is (pixels)height - (int) How high the face is (pixels)To render the face in CSS, set the original image as the background image of an element like
<div>, and apply the following CSS:
element {
	width: {rect.width}px;
	height: {rect.height}px;
	backgroundPosition: -{rect.left}px -{rect.top}px;
}
backgroundPosition is essentially moving the background image such that the top/left of the element aligns with the top/left of the rectangleIn jQuery, it might look like this:
$('element').css({
	width: rect.width,
	height: rect.height,
	backgroundPosition: '-'+rect.left+'px -'+rect.top+'px'
})
If you want to overlay the face element onto the original image, make both images position: absolute
and add a margin to the face element:
element {
	position: absolute;
	width: {rect.width}px;
	height: {rect.height}px;
	backgroundPosition: -{rect.left}px -{rect.top}px;

	marginTop: {rect.top};
	marginLeft: {rect.left};
}
In jQuery:
$('element').css({
	position: 'absolute',
	width: rect.width,
	height: rect.height,
	backgroundPosition: '-'+rect.left+'px -'+rect.top+'px',

	marginTop: rect.top,
	marginLeft: rect.left
})
This allows you to build an experience where each detected face has its own element which can be distinctly styled like in the example below:
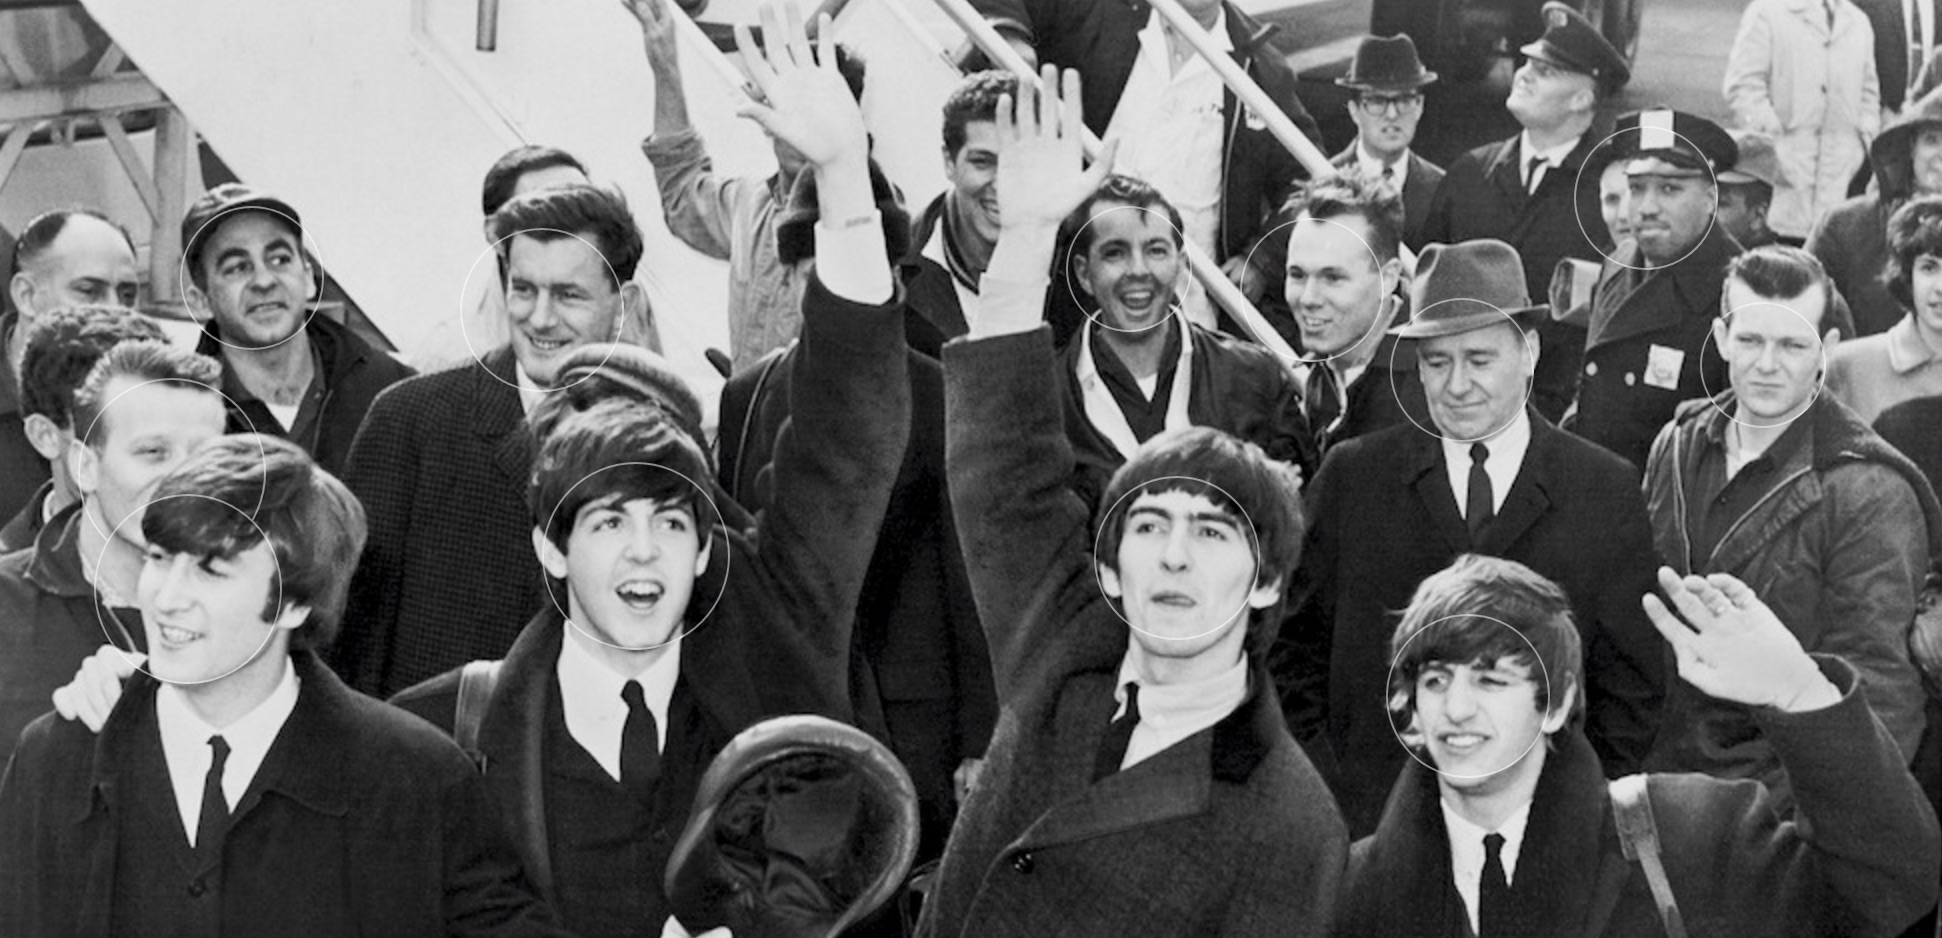
You can see this working for real by accessing the Live demo when you have facebox running locally.